
A loose attic hatch can undo the work of insulation around it. Air sealing attic hatches and access doors means weatherstripping the full perimeter, fitting a secure latch, and insulating the panel to at least R-30. For pull-down stairs, a secondary insulated cover can add another barrier between the home and the attic.
It’s easy to focus on the broad ceiling and overlook the small opening used to enter the attic. This guide explains how to seal pull-down stairs, fit a secondary cover, and insulate access panels and doors without making them difficult to use. You’ll also learn to spot gaps that let conditioned air escape and make the access point a more reliable part of your home’s thermal boundary.
Key Takeaways
- Use trim around the stair opening to create a cleaner edge for sealing, and add side boards to help keep loose attic insulation in place.
- A removable rigid-foam cover can add a separate barrier over pull-down stairs while still allowing access when needed.
- Check the entire opening for air pathways, including the frame and surrounding ceiling, rather than focusing on the panel alone.
- For a more complete insulation plan, consider how the attic access fits into the home’s wider thermal boundary.
Air sealing pull-down attic stairs
Fit continuous weatherstripping around the frame, then use a latch to hold closed pull-down stairs firmly against it. For an attic hatch, weatherstripping and a snug-fitting closure work together to limit gaps.
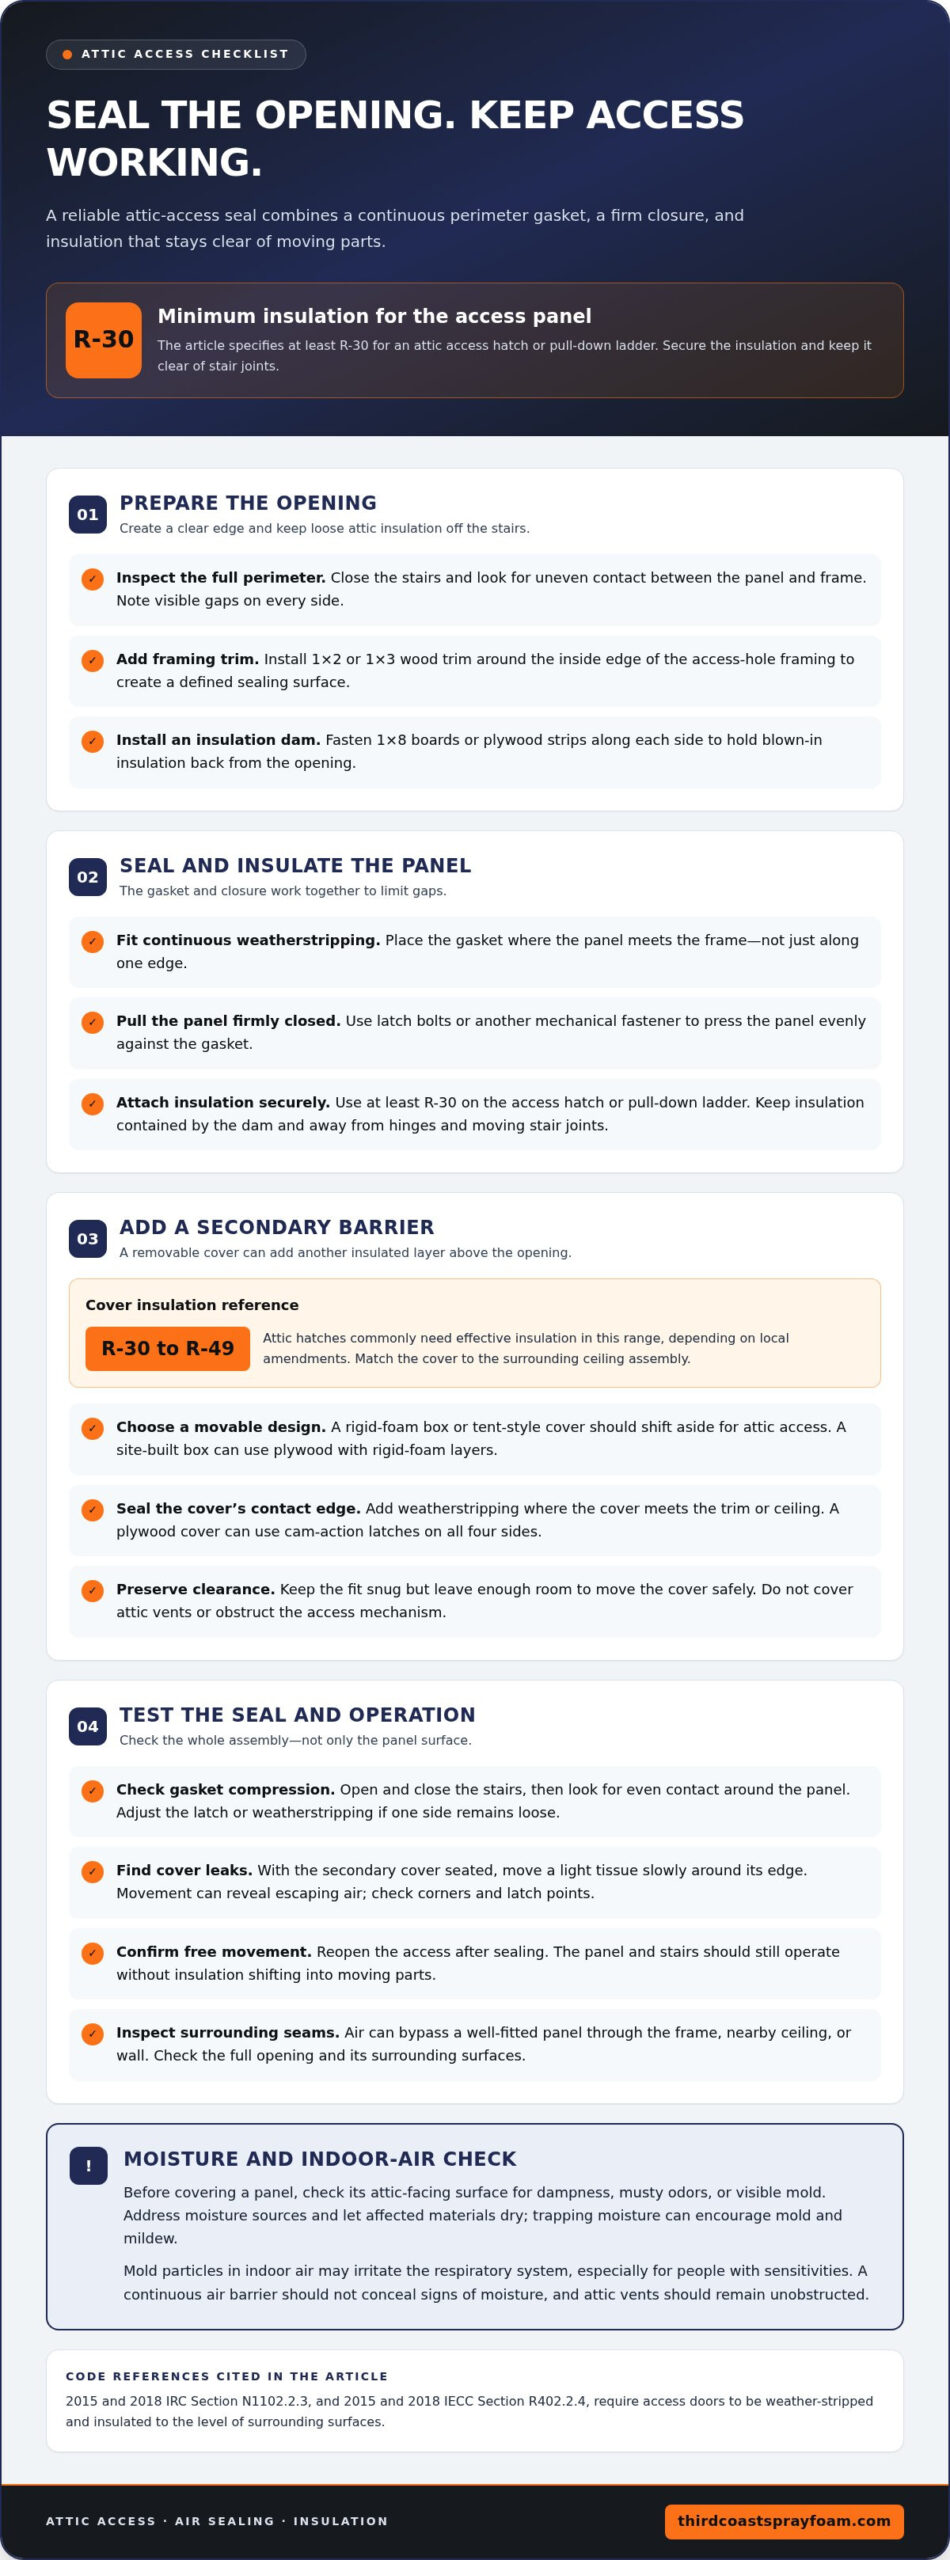
- Inspect the perimeter. Close the stairs and look for uneven contact between the panel and frame. Mark visible gaps so you can fit weatherstripping around the full opening, not just one edge.
- Prepare the framing. Install 1×2 or 1×3 wood trim around the inside edge of the access-hole framing. This creates a defined edge for the closed panel to meet and helps support a consistent seal.
- Add an insulation dam. Fasten 1x8s or plywood strips along each side of the framing. These boards hold blown-in insulation back from the stair opening and help prevent it from falling onto the steps.
- Fit weatherstripping and a latch. Place a continuous gasket where the stair panel meets the frame. Add latch bolts or another mechanical fastener that pulls the panel firmly against the gasket when closed.
- Insulate the stair panel. The attic access hatch or pull-down ladder insulation must be at least R-30. Keep the insulation attached securely, clear of moving stair joints, and contained by the dam.
- Test the closure. Open and close the stairs, then check whether the gasket compresses evenly around the panel. Adjust the latch or weatherstripping if one side remains loose or the stairs no longer operate freely.
Secondary covers for attic access openings
- Choose an insulated cover. A secondary cover adds a separate barrier above a hatch or pull-down stairs. Attic hatches commonly need effective insulation in the R-30 to R-49 range, depending on local amendments. Match the cover’s insulation to the surrounding ceiling assembly.
- Build a rigid-foam enclosure. For pull-down stairs, make or use a box-shaped cover that sits over the opening and moves aside for access. A site-built version can use plywood with rigid foam layers. Keep its fit snug, but leave enough clearance to move it safely.
- Seal the cover’s contact edge. Add weatherstripping where the cover meets the trim or ceiling. A site-built plywood cover can use cam-action latches on all four sides to compress the seal. For a scuttle opening, place weatherstripping on top of the trim boards.
- Keep access and ventilation clear. Choose a removable design, such as a rigid-foam box or a tent-style stair cover, that can be shifted when entering the attic. Don’t cover attic vents; the secondary barrier belongs over the access opening, not across ventilation pathways.
- Test the closed opening. With the cover seated, move a light tissue slowly around its perimeter. Movement can reveal escaping air; check corners and latch points, then adjust the fit or gasket. This simple check helps locate gaps without blocking access or attic ventilation.
If the attic opening is part of a broader insulation project, explore whole-home insulation options alongside the cover.
Insulating attic access panels and doors
Choose an insulation method that suits the opening and leaves the panel operable. A continuous air barrier can help limit drafts, but it should not conceal signs of moisture.
Choose a Method by Access Type
Match the seal to the way the opening moves. A scuttle cover needs an even contact edge, while pull-down stairs need clearance for folding hardware. A kneewall door should close evenly around its perimeter. Inspect the surrounding frame and wall too, since air can bypass a well-fitted panel through nearby seams.
2015 and 2018 IRC Section N1102.2.3 and 2015 and 2018 IECC Section R402.2.4 require access doors to be weather-stripped and insulated to the level of surrounding surfaces.
Avoid Sealing Mistakes and Safety Risks
Before covering a panel, inspect the attic-facing surface for dampness, musty odors, or visible mold. Find and address moisture sources, then allow affected materials to dry; trapping moisture can encourage mold and mildew. Mold particles in indoor air may irritate the respiratory system, especially for people with sensitivities. Don’t block attic vents or obstruct the access mechanism.
- Prepare the surface. Remove loose debris and make sure the panel is dry before adding insulation.
- Secure the material. Attach insulation firmly so it won’t shift into hinges or moving parts.
- Check the seal. Close the door and inspect for uneven contact that could leave an air pathway.
- Recheck after use. Open and close the panel to confirm it still moves freely.
If other parts of the home need attention, explore insulation options for the wider assembly.
Third Coast Spray Foam: Closed Cell Spray Foam Insulation
Third Coast Spray Foam installs Closed Cell Spray Foam Insulation for homeowners addressing insulation needs beyond the attic access opening. Weatherstripping and a fitted cover seal the hatch itself; broader insulation work can address other areas that need insulation. The right approach depends on the locations and surfaces involved, so consider the hatch and surrounding structure as connected parts of the home’s thermal boundary.
Consider broader insulation work if drafts persist elsewhere after the access panel closes securely, or if your project extends beyond the hatch. Third Coast Spray Foam also installs Open Cell Spray Foam Insulation, Rim Joist Insulation, and Pole Barn Insulation. For help with broader insulation needs, contact Third Coast Spray Foam or visit thirdcoastsprayfoam.com.
Make the Attic Opening Part of a Bigger Plan
A secure attic access point is one part of a home’s overall thermal boundary. If drafts remain after the hatch closes properly, look beyond the opening and consider how insulation connects across ceilings and adjacent spaces. Watch for moisture or musty odors too; sealing should not hide an existing dampness problem. A whole-home view helps you decide whether air sealing attic hatches and access doors is enough, or whether other areas need attention.
For guidance on insulation needs beyond the access panel, contact Third Coast Spray Foam to discuss your home and possible next steps. A thoughtful assessment can help you prioritize the work that supports a more comfortable, well-maintained indoor space. Start with the areas that affect your home most, then build from there.
Frequently Asked Questions
How do you air seal an attic hatch or access door?
To seal attic hatches and access doors, treat stationary joints and the moving panel separately. Close the hatch and inspect the joint between the frame and ceiling, then fill fixed seams with caulk. Apply weatherstripping where the panel meets the frame, and adjust the latch so it closes evenly. Open and close the hatch again, checking the corners for missed contact points.
How do you insulate an attic access hatch or pull-down stairs?
Choose insulation that fits the panel without interfering with hinges, folding sections, or the latch. Attach rigid foam to a flat access panel, or secure batt insulation mechanically so it stays in place when the hatch opens. For stairs, contain the insulation and keep it clear of moving parts. Check the insulation’s labeled R-value and compare it with the surrounding ceiling assembly.
How do you seal gaps around an attic access frame?
First distinguish gaps around the fixed frame from gaps where the door closes. Use caulk on stationary seams between the frame and ceiling, and reserve compressible weatherstripping for the moving panel’s contact edge. For example, if the frame is tight but one corner of the hatch lifts, adjust the closure rather than filling the moving joint with sealant.
What building code requirements apply to attic access doors and insulation?
2015, 2018 IRC Section N1102.2.3 and 2015, 2018 IECC Section R402.2.4 require access doors to be weather-stripped and insulated to the level of surrounding surfaces. Alteration references also include 2009, 2012, 2015, and 2018 code editions. The applicable edition and local amendments affect the requirement for a particular home, so identify the adopted provisions before work.
Disclaimer
Information provided is for general educational purposes. Individual needs and circumstances vary. Speak to an experienced professional to get the correct information for your situation.